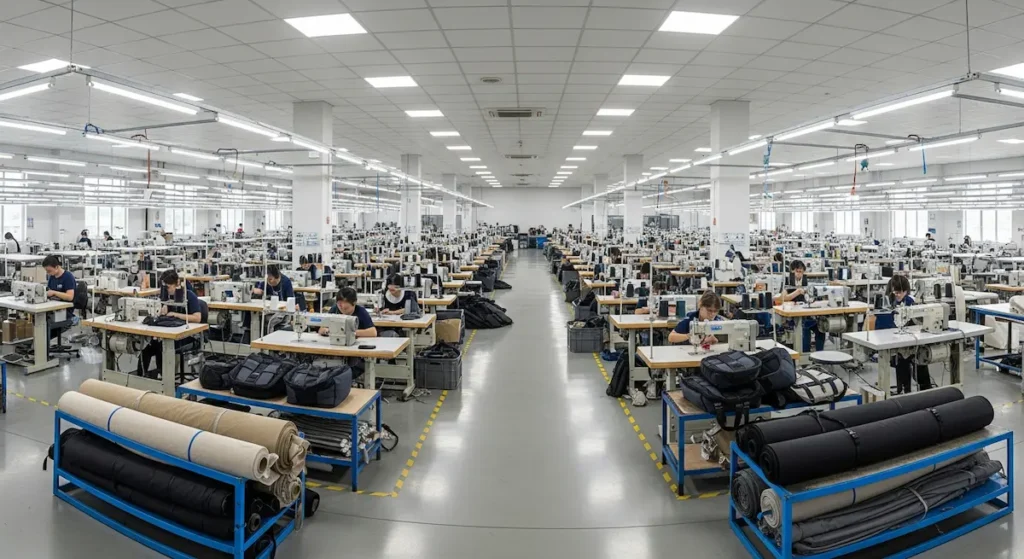
Many buyers send us a Tech Pack and receive a perfect sample a week later, but few know exactly what happens in between. The bag manufacturing process is a complex symphony of cutting, gluing, stitching, and hammering.
Understanding this process is not just for curiosity; it helps you understand cost drivers, lead times, and quality control points. Today, we are taking you on a virtual tour of the TIMMY factory floor to show you exactly how a roll of fabric becomes a retail-ready bag.
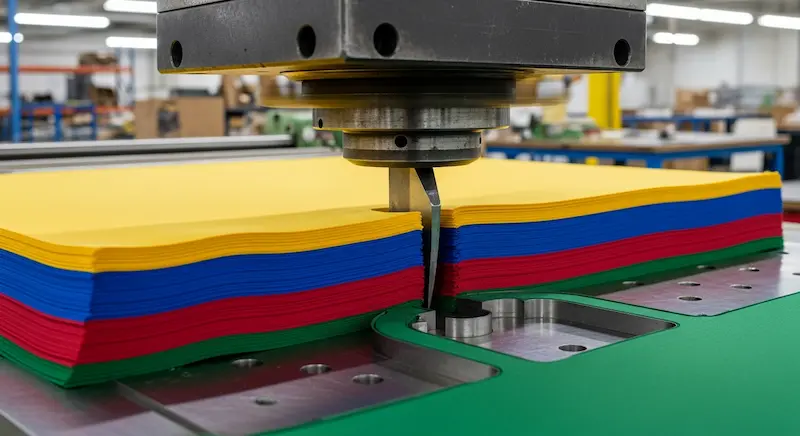
Step 1: Cutting (The Foundation of Accuracy)
Before a single stitch is sewn, the fabric must be cut into panels. This step determines the efficiency (waste rate) and accuracy of the bag.
- Fabric Inspection: We inspect every roll of fabric for defects before cutting.
- Die Cutting: For standard shapes, we use hydraulic press machines with metal “cookie cutter” molds. This is fast and ensures every piece is identical.
- Laser Cutting: For complex shapes or fabrics that fray easily (like some nylons), we use laser cutters. The laser cauterizes (seals) the edges as it cuts, preventing unraveling.
Step 2: Pre-Production Prep (Logos & Skiving)
You might think sewing is next, but wait. If your bag needs a logo, it usually happens now, while the fabric panels are flat.
Branding: The cut panels are sent to the printing or embroidery department. Applying a logo to a finished bag is difficult and limited; doing it on a flat panel allows for edge-to-edge printing. (Read our Logo Guide for more).
Skiving: For leather or thick PU bags, we “skive” (shave) the edges of the material to make them thinner. This allows for easier folding and stitching without creating bulky seams.
Step 3: Sewing & Assembly (The Production Line)
This is the heart of the factory. Our production lines are organized by “operations.”
- Front Line: Workers assemble small parts—zippers are sewn onto pockets, handles are reinforced, and labels are attached.
- Assembly Line: The front panel, back panel, and gusset (the side strip) are stitched together. This turns 2D pieces into a 3D bag.
- Binding: The internal raw edges are wrapped with binding tape to ensure the inside of the bag looks as clean as the outside.

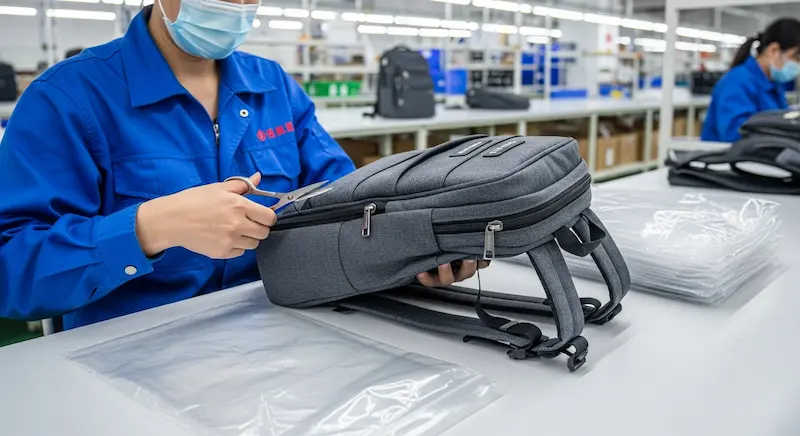
Step 4: Finishing & Packing (The “Retail” Touch)
Once sewn, the bag isn’t done. It goes to the finishing department.
- Trimming: Workers manually trim all loose threads. A loose thread is the #1 reason for “perceived poor quality” reviews.
- Cleaning: Any chalk marks or oil spots are cleaned off.
- Stuffing: For structured bags, we stuff them with paper to maintain their shape during shipping.
- Tagging: Hangtags and compliance labels are attached.
Conclusion: Precision at Every Step
A high-quality bag isn’t an accident; it’s the result of hundreds of small, precise steps executed by skilled workers. Understanding this bag manufacturing process helps you appreciate the value of a professional OEM partner.
At TIMMY, we invite our clients to visit our factory floor (physically or virtually) to see this process in action. Ready to start your production run? Contact us today.